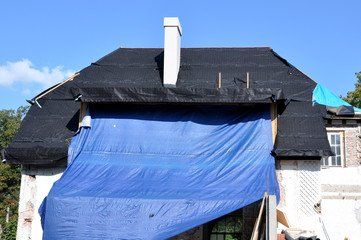
Securing A Tarp To A Roof
How To Tarp A Roof The Home Depot
How To Tarp A Roof Severe Weather Guide Youtube

How To Cover Your Roof After Storm Damage Hunker

How To Tarp A Roof

How To Cover Your Roof With Paterson Poly Blue Tarps

7 Steps To Temporarily Patch Your Roof With A Tarp Roof Emergency Roof Repair Roof Patch Roof Repair
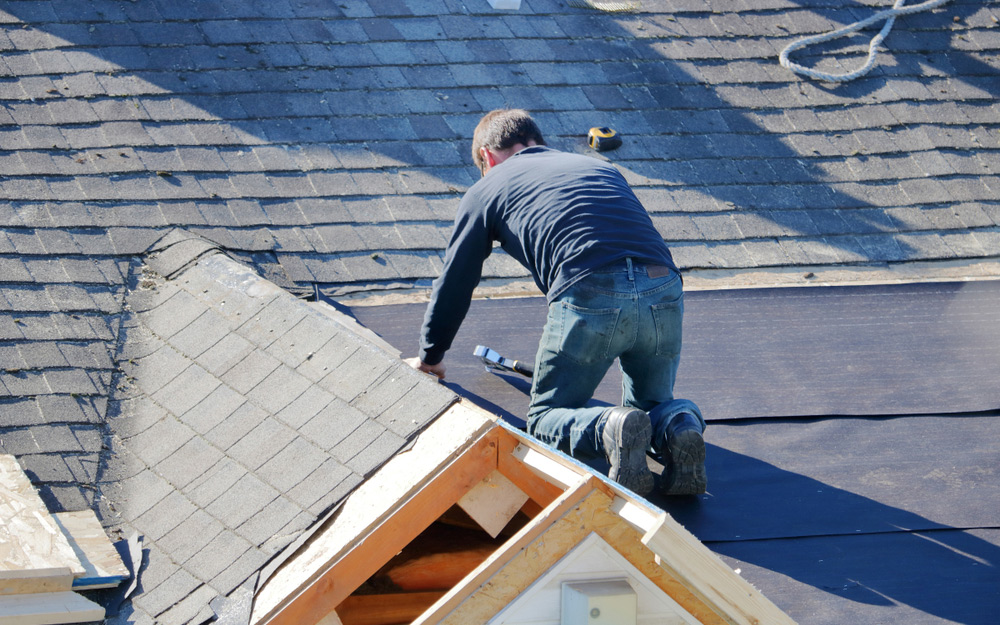
Now that the tarp is tightly secured to the roof seal the edges by laying 2 by 4 2 by 2 or 1 by 3 lumber along the edges of the tarp and screwing the wood to the roof deck.
Securing a tarp to a roof. Because you re securing the tarps tight to the roof the air will have nowhere to go. Pulling the tarp tight around the edges apply 1 3 strapping with deck screws every 8 to 12 making sure you have one within 2 to 3 of each edge. This will prevent water and debris from entering the damaged area. You want to get long 3 inch nails to get plenty of bite into the roof s sheathing and still be able to bend an upper portion of them to secure the tarp.
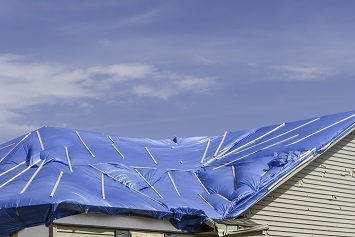
Secure the tarp s remaining sides with additional 2 x 4 boards using your screw gun and screws. Screw the 2 by 4 directly into the roof to secure it. To secure a tarp to your roof. Extend the top edge of the tarp over the ridge of the roof.
Place the sandwiched tarp along the eaves line and stretch the rest of the tarp goes over the ridge and down the other side of the roof. Using more 2 x 4 s nail down the tarp s sides. Positions several 1 2 pieces of lumber on the tarp running vertically down the slope of the roof. Don t forget to secure the strapping used in step 4.
The screws must pass securely into the roof. If you can leave a space for the vent to breathe. To begin securing the tarp screw through the rolled 2 x 4 boards with your screw gun. Time to make sure everything is off the roof secure the final strapping used in step 5 every 8 to 12.
You can cut a hole out of the tarp for this if you need to and secure the sides down with wooden boards. The 2 by 4 should be about 2 feet longer than the tarp width. Lay more 2 by 4s on either side of the tarp and attach those as well for a tight well secured water barrier. Find the source of the roof leak.
Pull the tarp as tightly as you can before securing that piece of wood to the roof deck or the opposite eave. Once every grommet has a bent nail in it add a dab of roofing tar into each grommet hole around the nail that penetrates the roof to protect against leaks. Fully secure your roof tarp to prevent flapping. Roll the opposite end of the tarp around another 2 x 4 and sandwich the tarp with a second 2 x 4 and nail it to the roof sheathing roll side down.
You need to know first which spot on the roof needs tarping up. Not helpful 1 helpful 2. Then fold the excess tarp under a few rotations for a tight clean fit. Here are the steps on how to install a tarp on your roof without nails.
Find the source of the leak. Installing a tarp on your roof is easier than you think.

How To Temporarily Patch A Leaky Roof With A Tarp
How To Tarp A Roof For Temporary Roof Repair

Tarping A Damaged Roof Blue Tarp Services Gotcha Covered Contracting
How To Tarp A Roof Without Nails Contractor Quotes

Install A Blue Tarp On A Roof Diy In A Hour

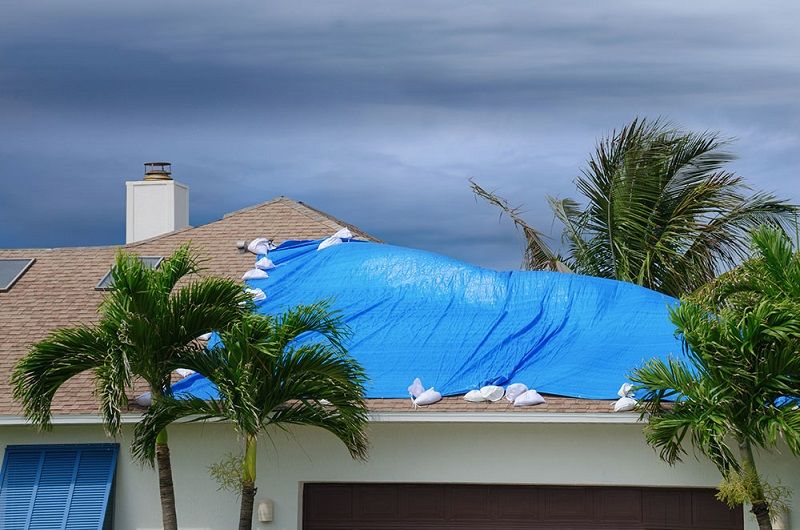
Free Tarps Available For City Of Melbourne Residents Looking To Secure Home Roofs After Hurricane Irma

Utarpit Self Adhesive Roofing Tarp For Pros The Home Depot Youtube

Tarp Roofing An Ultimate Guide Canvasandcanopy Com

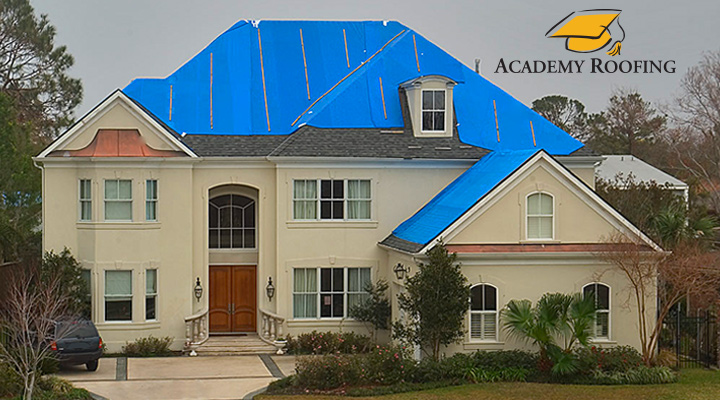
Protect My Roof While I Am Waiting For Repairs Fix My Roof

Utarpit Installation Instructions Xtarp Solutions Corp

How To Tarp A Roof After A Hurricane My Winter Haven Fl

How To Install Tarp Protection To Keep A Project Safe

How To Tarp A Roof After A Storm A1 Tarps

How To Tarp A Flat Roof Canopiesandtarps Com

Use A Tarp To Cover Your Roof Mr Roof Repair

Pvc Tarps Heavy Duty Construction And Protection

Tarps For Roofing Tarps Roofing Roofer

How To Tarp A Roof Like A Pro Grizzly Tarps Blog
Https Encrypted Tbn0 Gstatic Com Images Q Tbn 3aand9gcqhb7ffttswzcd5bnmttwzlb2ltnhgsraaqv1abzyggrzzoka9a Usqp Cau
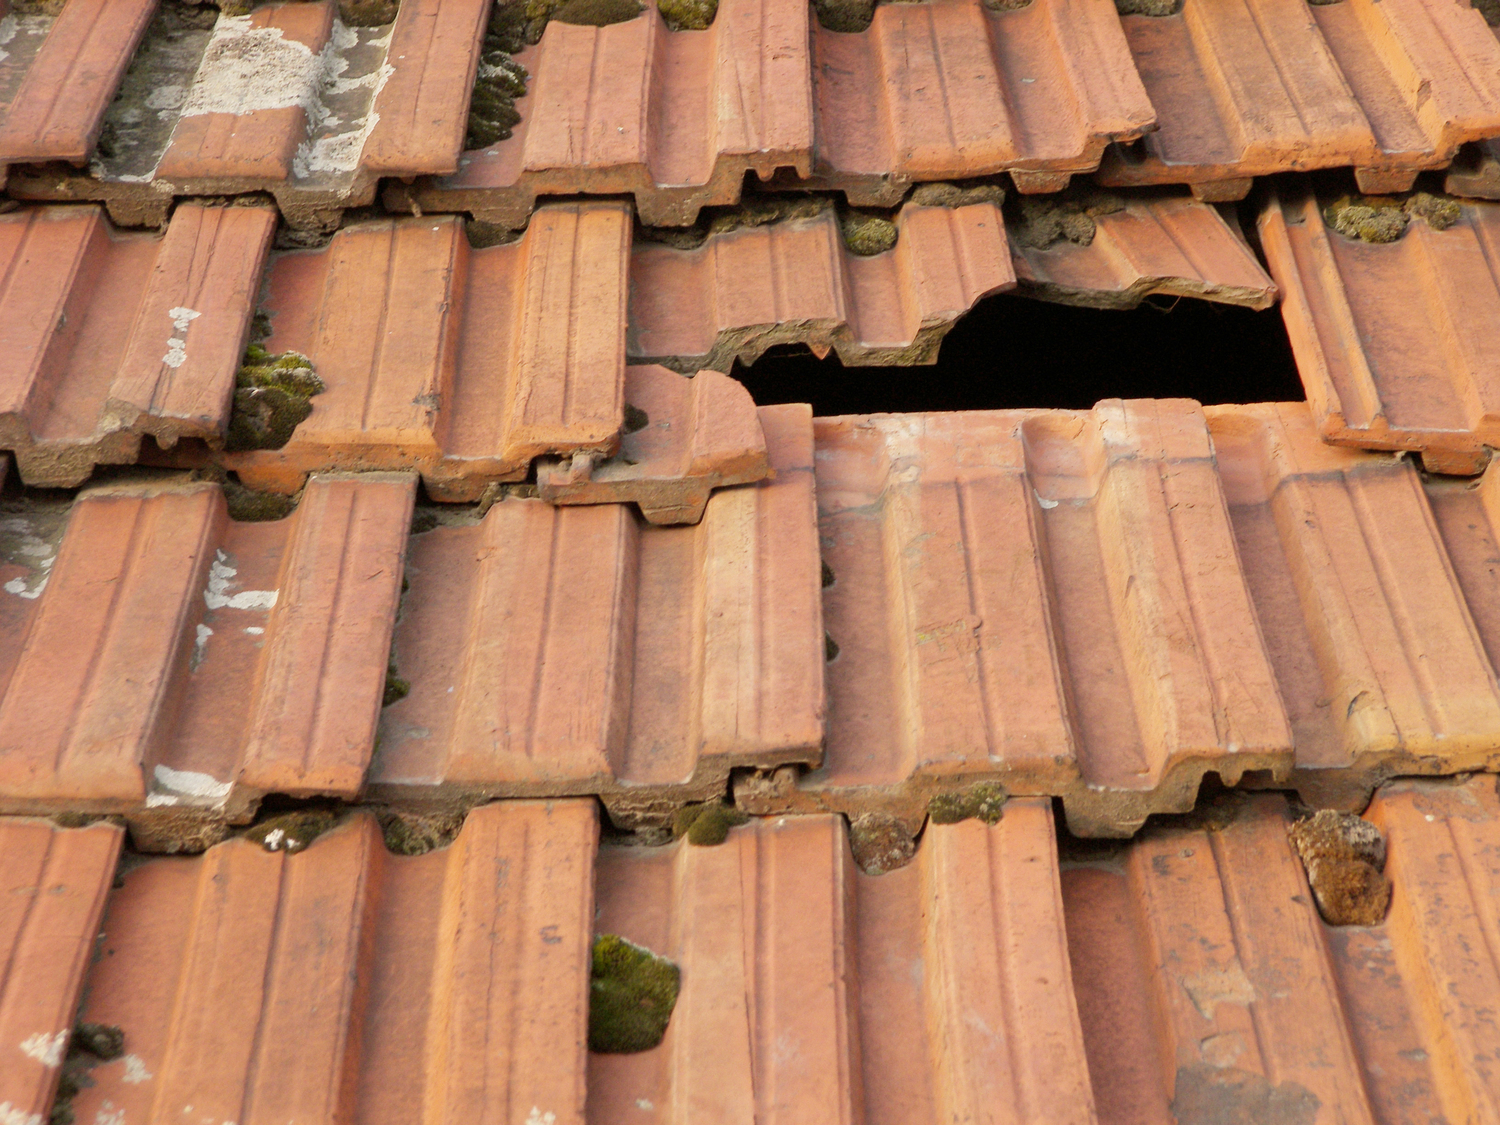
How To Tarp A Tile Roof Orlando Roof Tarping Roof Repair Orlando Temporary Repair

Osha S Hazard Exposure And Risk Assessment Matrix For Hurricane Response And Recovery Work Roof Inspection Tarping Repair And Replacement

Amazon Com Ez Travel Collection 20x40 Replacement Canopy Top Cover Outdoor Party Canopy Roof Tarp White Garden Outdoor

Ez Grabbit Tarp Tie Down 48 Pack Advanced Functionality Tarp Clips Clamps Holder Tie Off Cinch Fastener For Wall Tent Boat Pool Cover Canopy Hay Cargo Camping Storage Canvas Amazon Com
Blue Roof Recommendations From Osha Ehs Daily Advisor
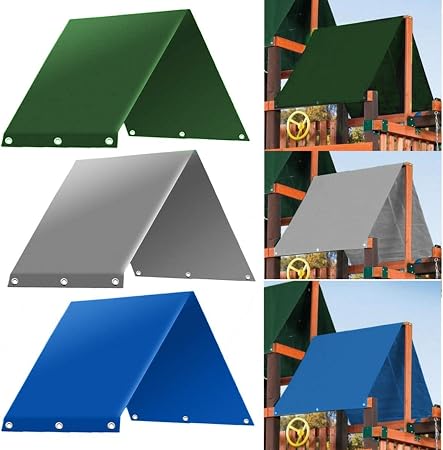
Amazon Com Sevenmore Playground Replacement Canopy 52 X 90 Outdoor Swingset Shade Kids Playground Roof Canopy Waterproof Cover Snow Proof Tent Replacement Tarp Sunshade Garden Outdoor

Your Leaking Roof May Require A Roof Tarp Elite Remodeling Services

Emergency Roof Repair And Roof Tarping Services Modern Xterior Improvement

Tarp Roofs Remain In Puerto Rico
Emergency Tarp Installation News Emergency Tarp Installation

How To Tarp A Roof

Hen Boost Up The Tarp With Two Poles Or Sticks To Make A Covered Porch For Sitting Eating And Shade Suv Camping Truck Camping Truck Bed Camping
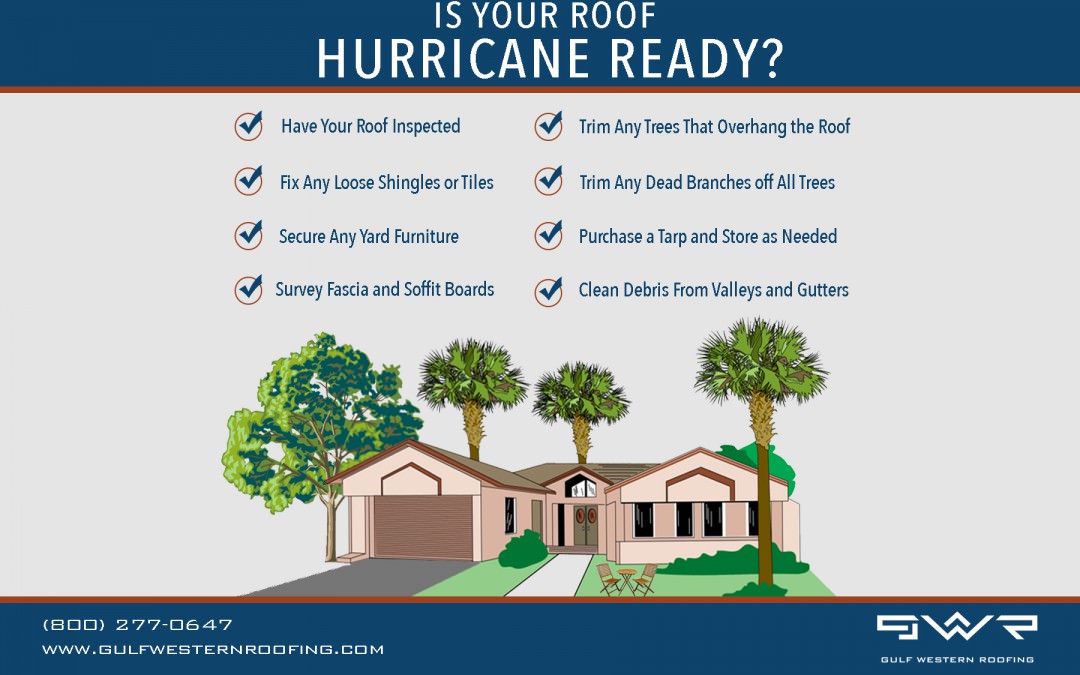
Preparing Your Roof For A Hurricane Gulf Western Roofing

How To Cover My Patio With A Tarp Home Guides Sf Gate

Roof For Dog Kennel Cover Canopy Tarp Yard Cage Fence Exercise Large Pen Playpen Dog Kennel Cover Kennel Cover Dog Kennel

Trucker S Knot This Knot Will Secure A Canoe To A Car Tighten A Tarp And Truss A Dozen Rods Into A Tidy Bundle It S One Of The Best Knots Out There
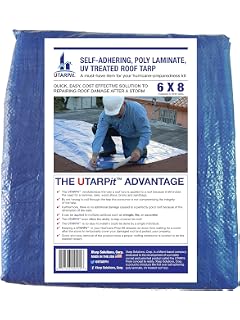
Utarpit 20 Ft X 25 Ft Blue Roof Tarp Amazon Com

Customer Photo Gallery Creative Shelters Backyard Shade Outdoor Shade Shade Tent

Hurricane Roof Damage What To Do After The Storm Prestige Roofing

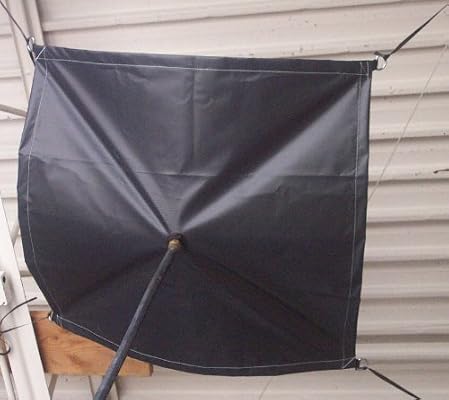
10 X 10 Drain Tarp Roof Ceiling Leak Drip Diverter Tarp Heavy Duty Yellow Amazon Com

How To Build An Emergency Shelter Positive Adventures

Explore Ropes For Tarps Amazon Com

Waterproof Roof Cover Poly Tarps 8x10 Feet Army Green 5 Mils Durable Pe Tarpaulin For Boat Tent Outdoor Cover By Star Plover Amazon Com